Automating Emails for Survey Buddy
Use these steps to create a trigger for a Survey Buddy survey. In this example we are creating a trigger that sends an email to a member confirming that they have completed a survey.
Step 1: IQA
Build a new IQA and call it something related to your Survey (“Survey Trigger Email”).
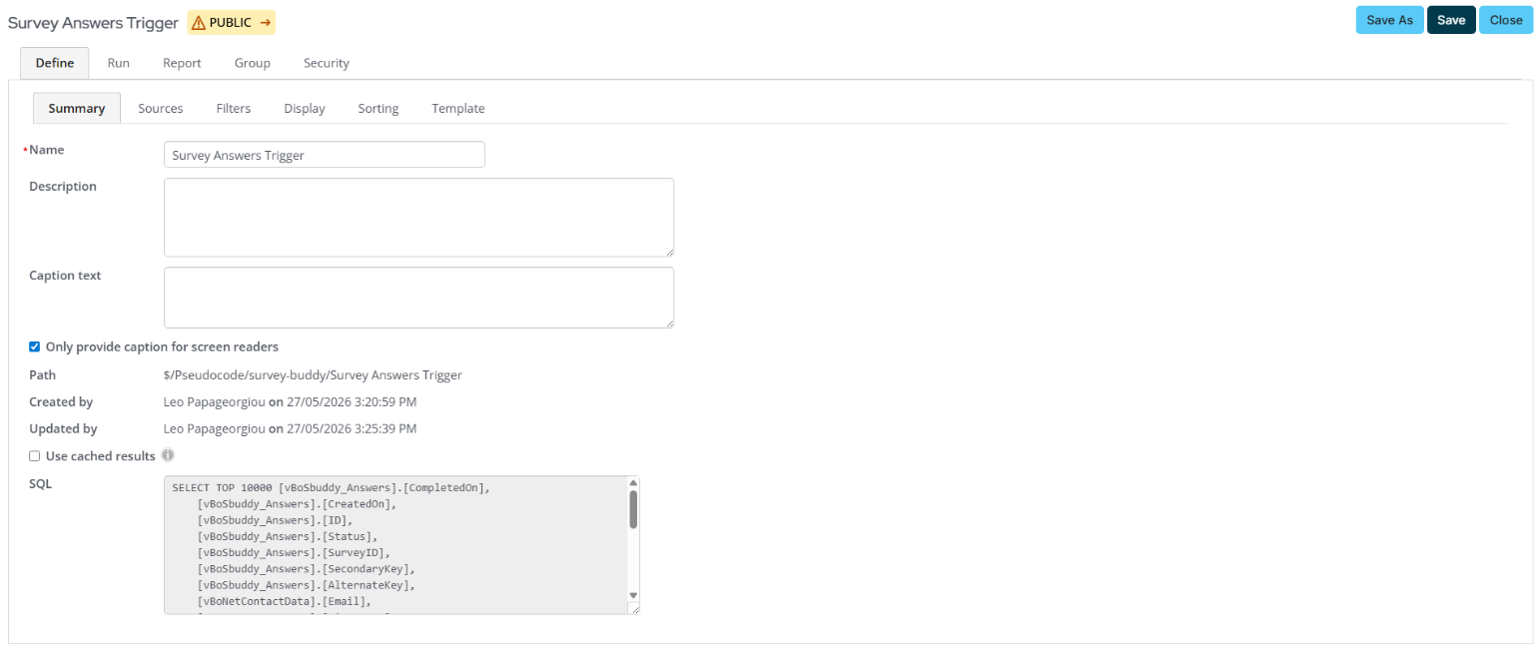
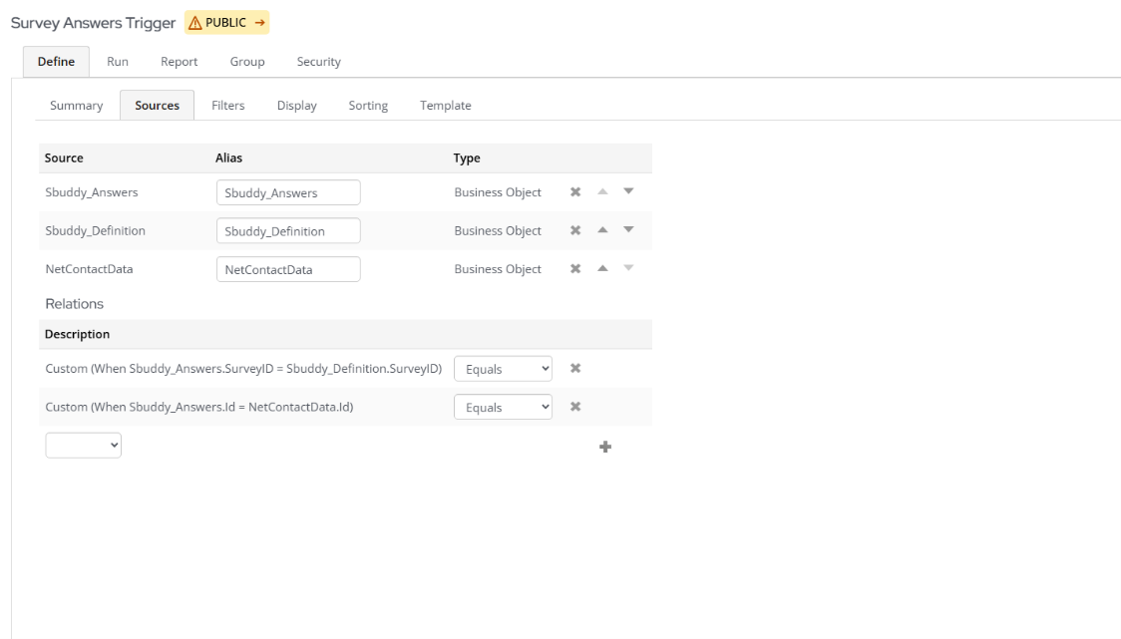
In Sources, add Sbuddy_Answers, Sbuddy_Definition and NetContactData. Create a custom join and join Sbuddy_Answers.SurveyID and Sbuddy_Definition.SurveyID.
Then create another custom join and join Sbuddy_Answers.Id and NetContactData.Id.
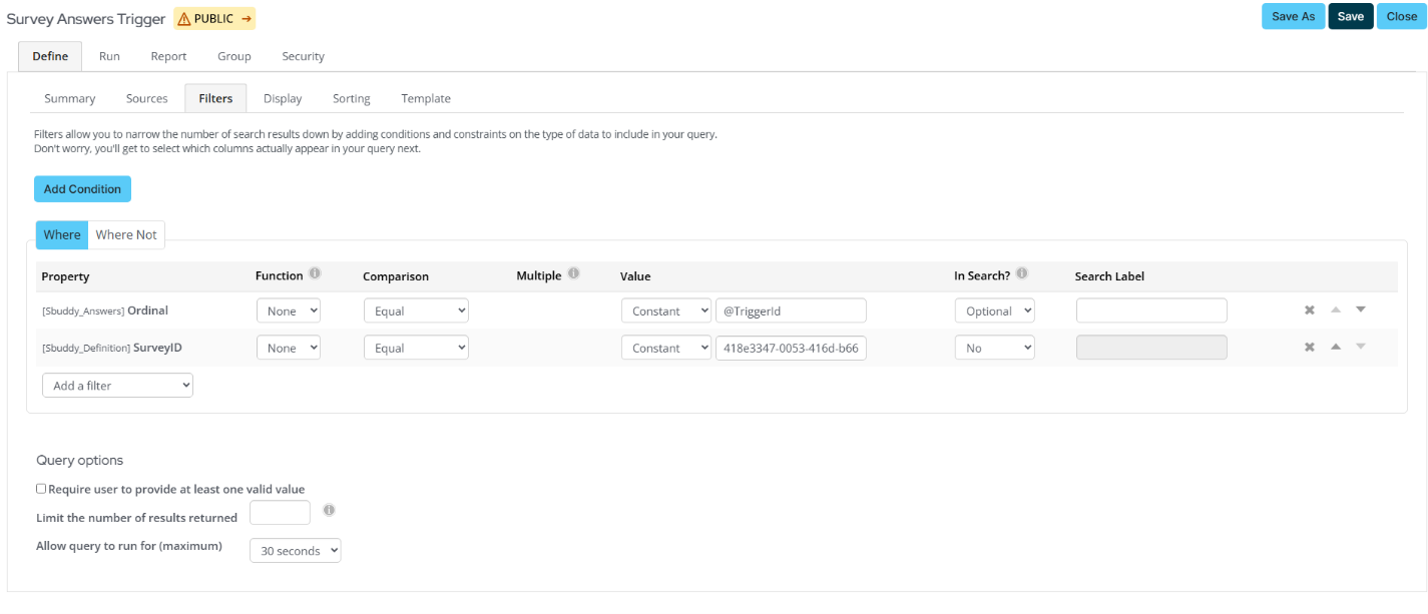
In filters add [Sbuddy_Answers] Ordinal with @TriggerId as the alias. Then add [Sbuddy_Definition] SurveyID and add the survey ID you want the query to point to in the Value. This means the email will only be sent for submissions to this specific survey.
Now go to display and tick all fields that you want to use within your email. ID and Email would be required.
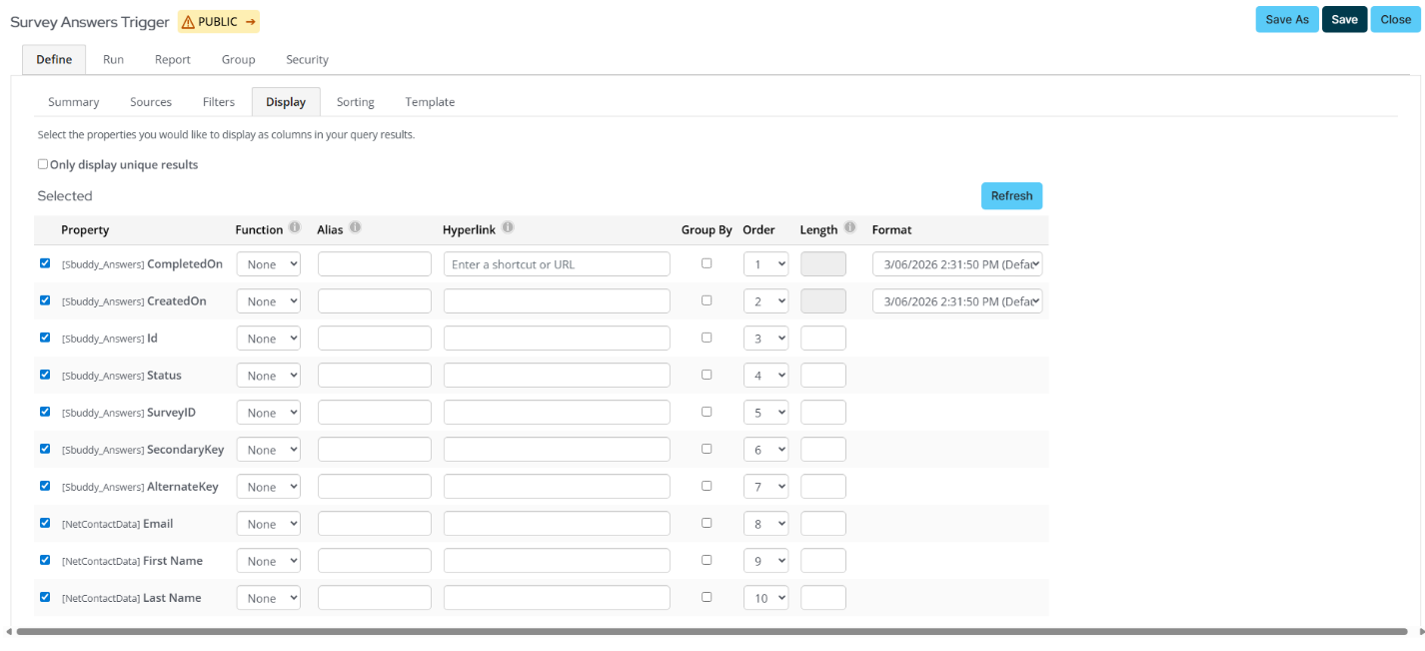
Save and exit.
Step 2: Process automation
Go to Process Automation in the left-hand navigation and click ‘add new task’.
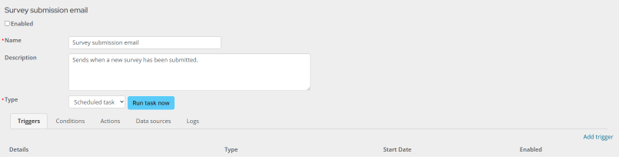
Enter the name you’d like for your process automation. Then click Add trigger.
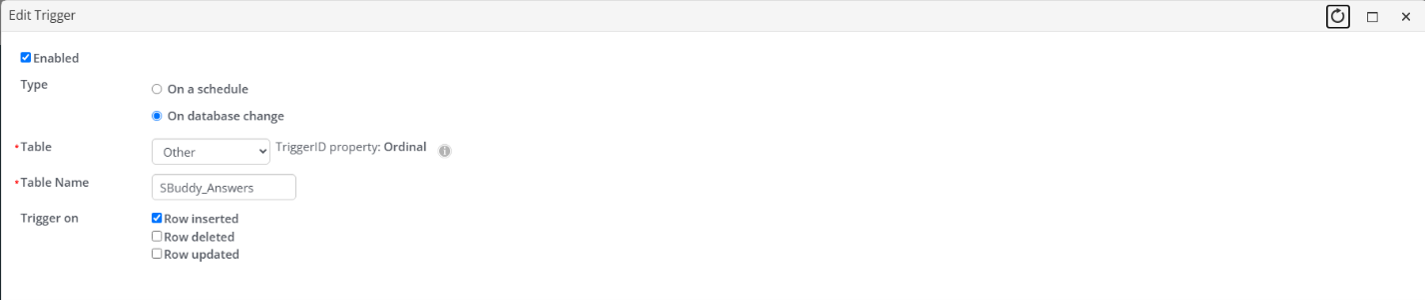
Tick enabled and make sure on database change is selected. Then in table click other and add the table name SBuddy_Answers. Also make sure the trigger on is set to Row inserted. This means the process will run when a new survey is submitted.
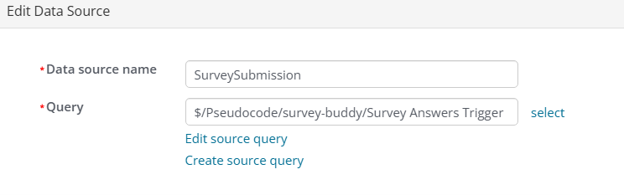
Next go to Conditions and click Add Data Source.
Add a data source name and add the query you built into the query box.
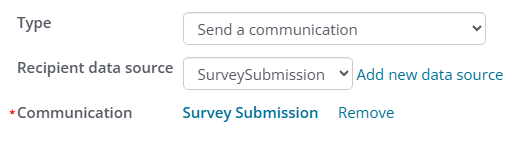
Go to Actions and click add action. Select Send a communication, then click add a new data source. In the pop up add a name and point it to your query.